CalDAV calendar synchronization on a Mac#
This method allows you to synchronize your calendars between the server and a Mac device.
The operation is done directly from the Apple Calendar application.
In the menu bar, go to Calendar then Accounts… to display the Internet Accounts configuration window (Fig. 4.8).
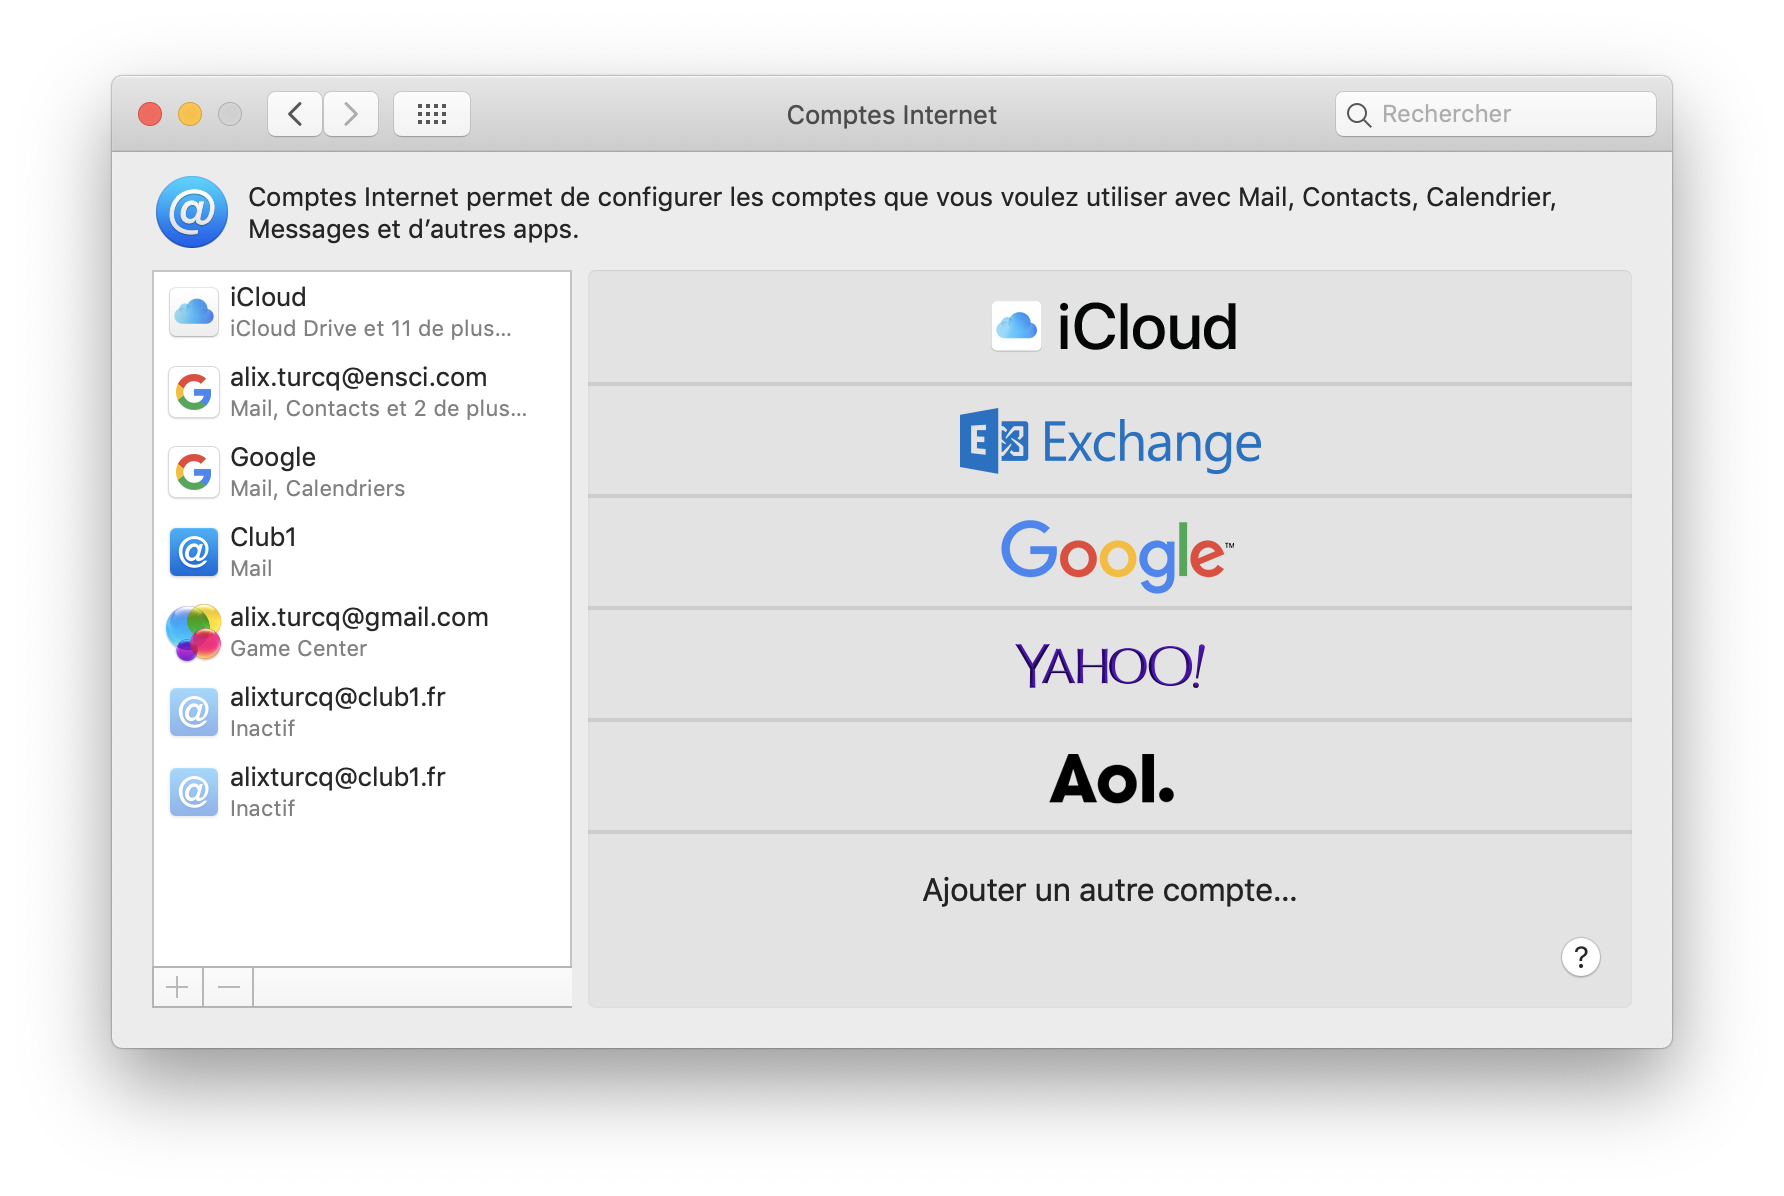
Fig. 4.8 “Internet Accounts” window.#
To add a CLUB1 account, click on Add another account… and choose CalDAV Account (Fig. 4.9)
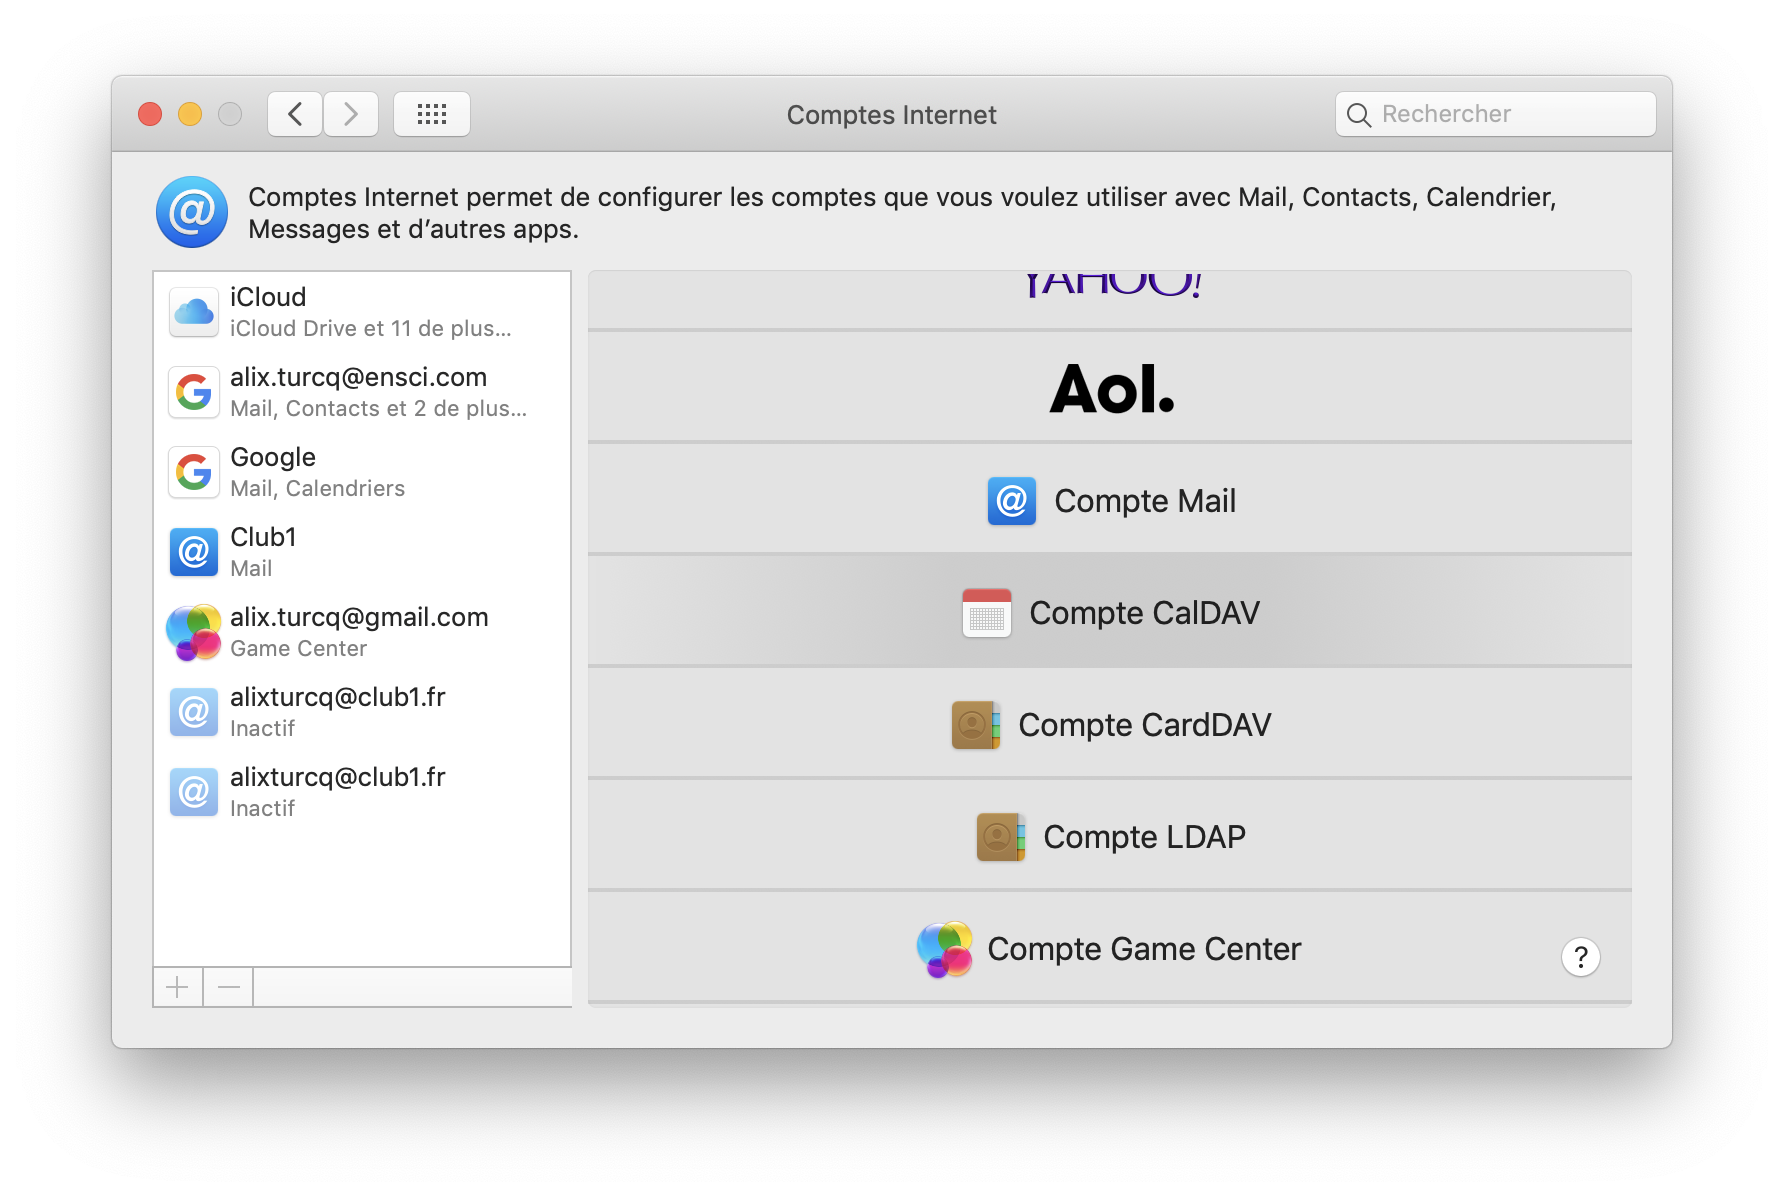
Fig. 4.9 The “Internet Accounts” window reveals its full potential.#
In the unfolded window, enter your CLUB1 member address and password (Fig. 4.10).
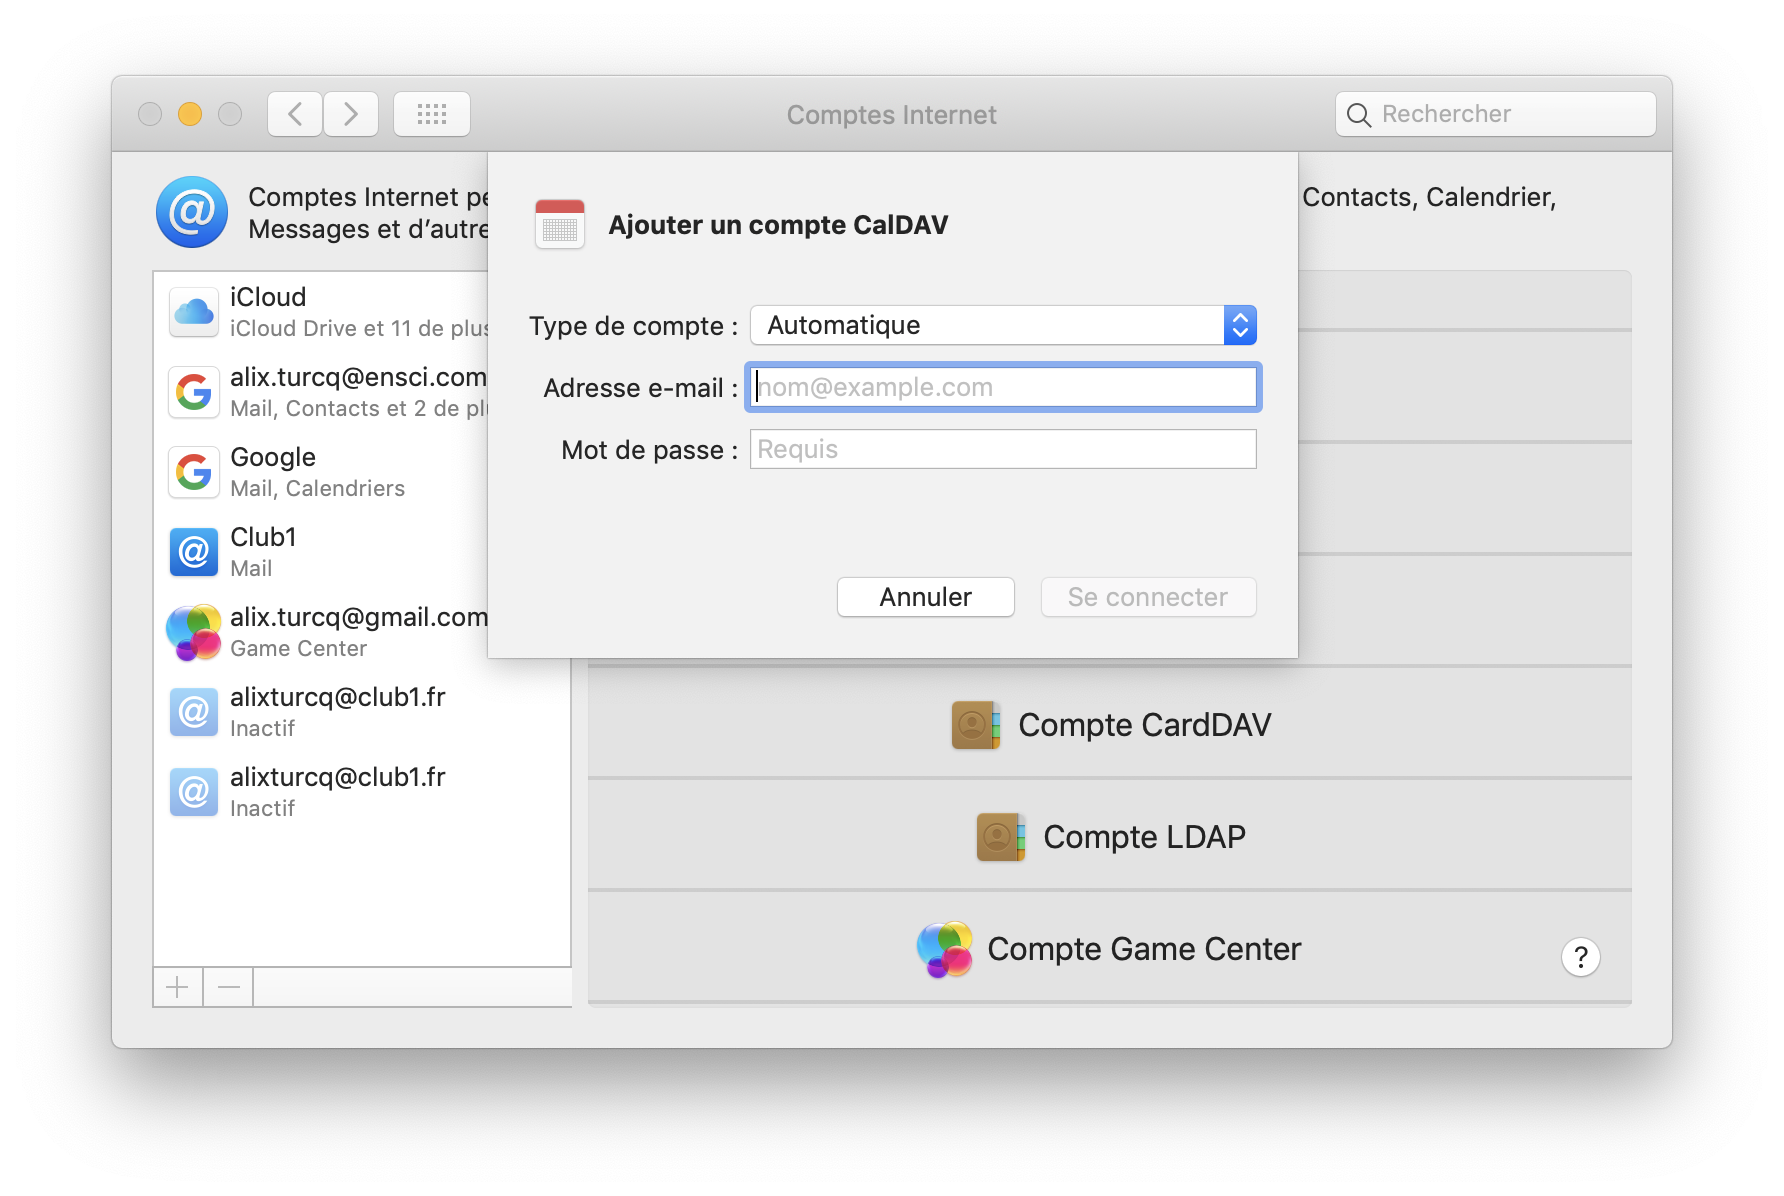
Fig. 4.10 The CalDAV account addition form.#
Once validated, a “Default” calendar will appear under CLUB1 in the left panel of the Calendar application (Fig. 4.11).
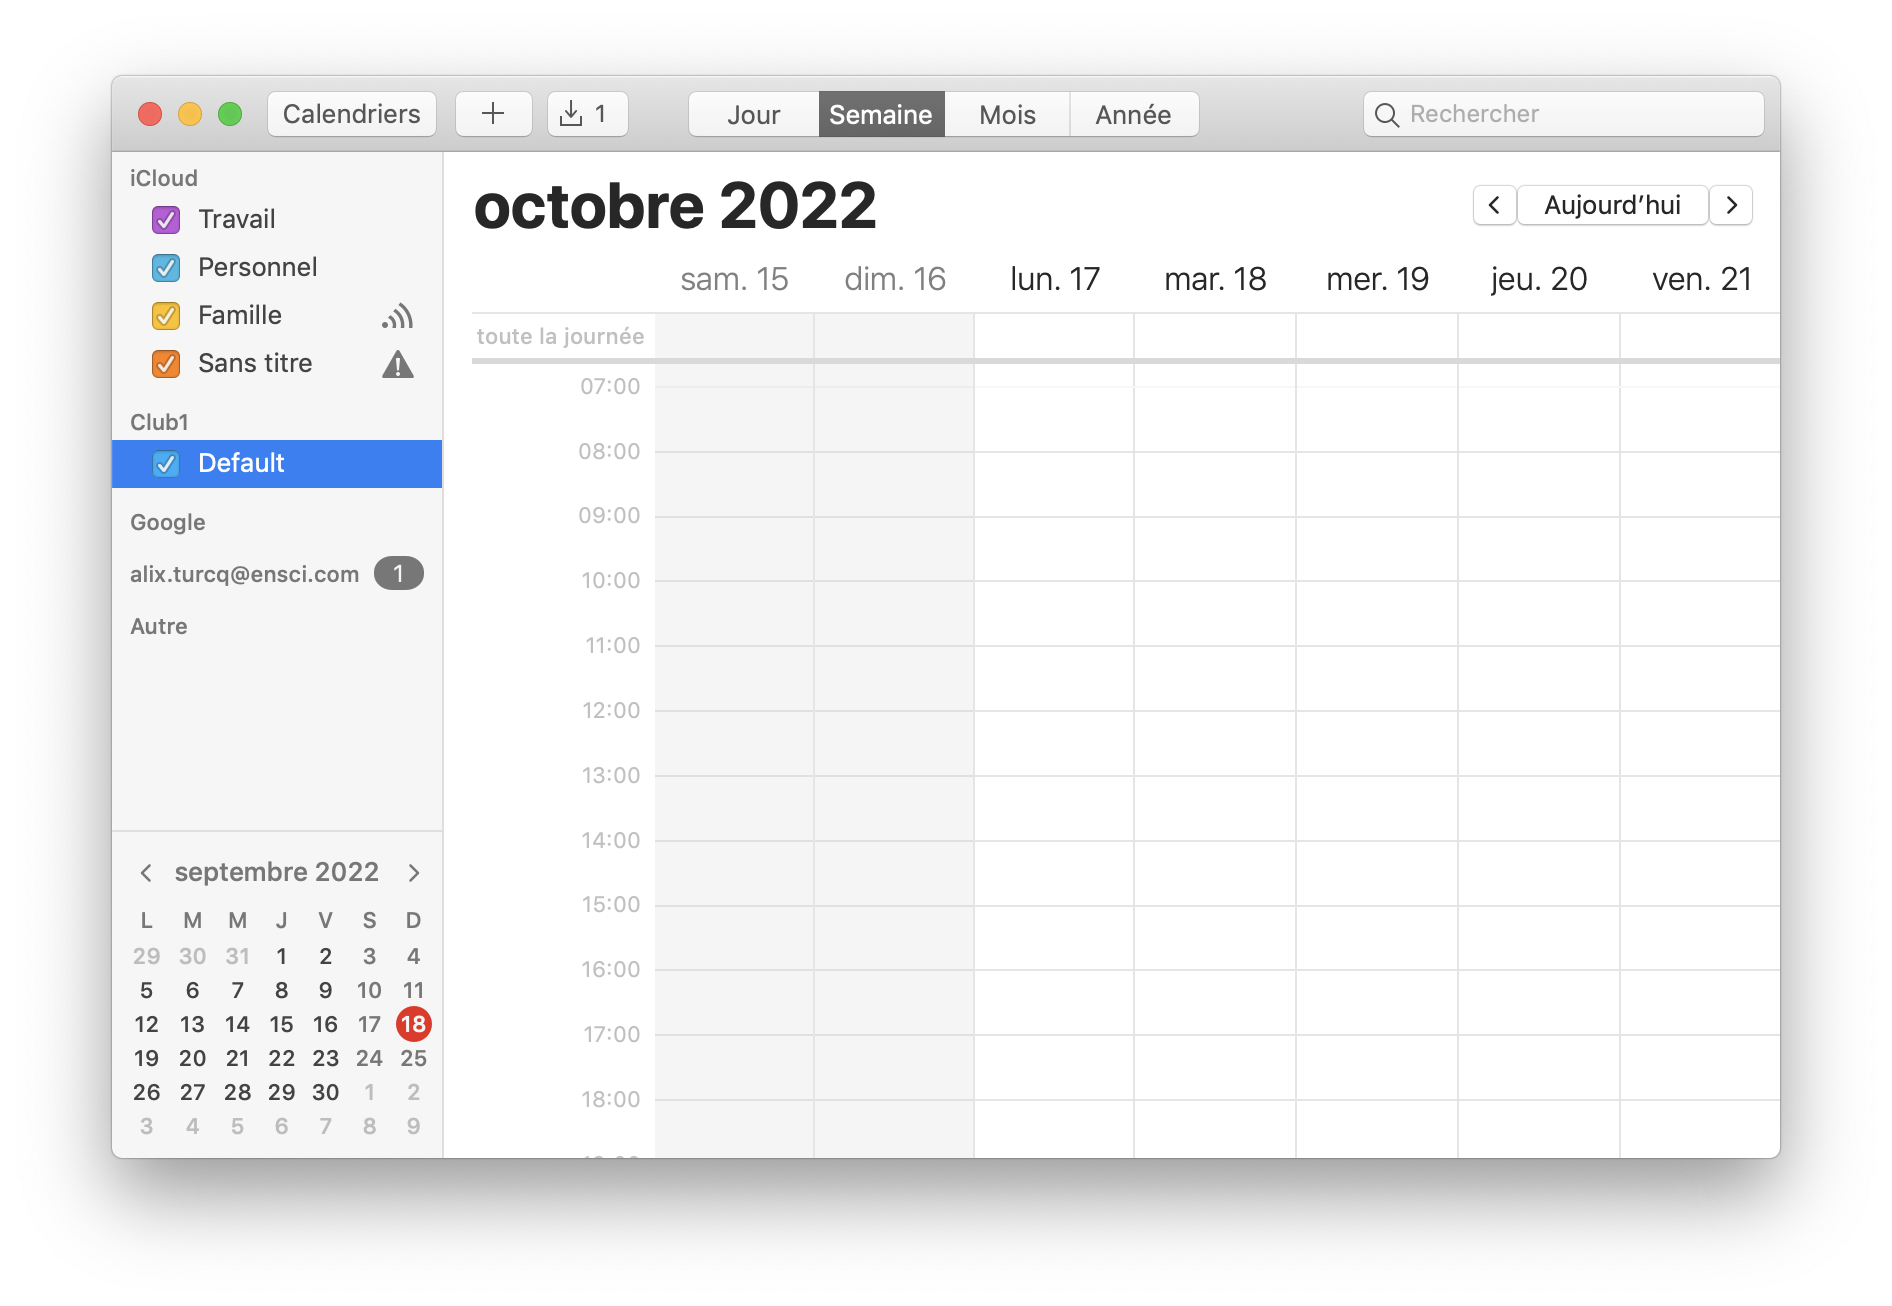
Fig. 4.11 The “Default” calendar is now present in the calendar.#
Cheer.